

We use affiliate links and may receive a small commission on purchases.
Read more about us.

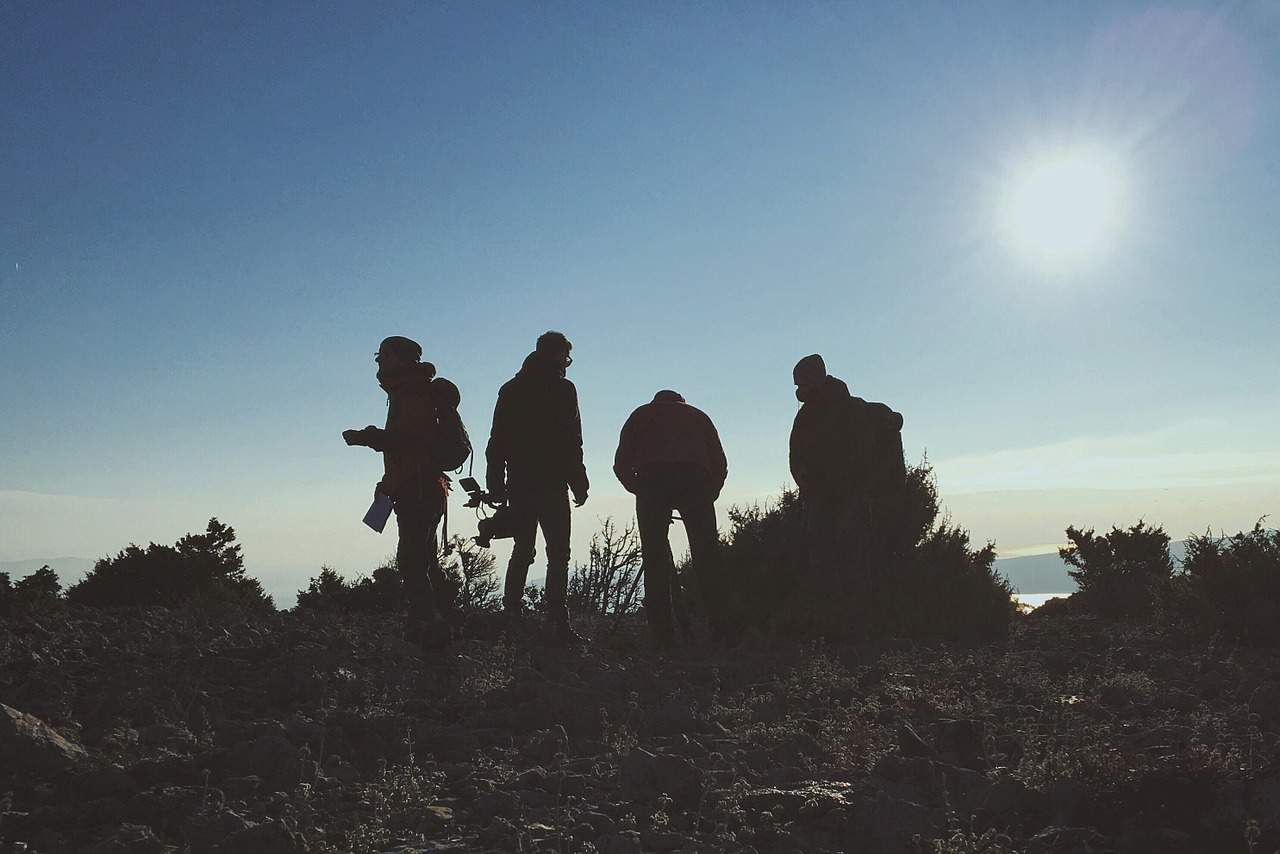
Do you love camping but are looking for something a little more challenging? Do you have a passion for hiking that you want to take to the next level? How about combining the two? If this sounds like your perfect set-up, then backcountry camping should definitely be one of your goals for 2018.
If you’re ready to upgrade from day-hikes and campgrounds, grab your backpack and camping gear as you prepare to embark on a backpacking journey through the remote wilderness.
This ultimate guide will tell you everything you need to know about backcountry camping – how to prepare, what to pack, mistakes to avoid and a range of destinations for you to choose from. You can find all the research and information you need within this guide, making it easy for you to get started on your backcountry adventure.
What is Backcountry Camping?
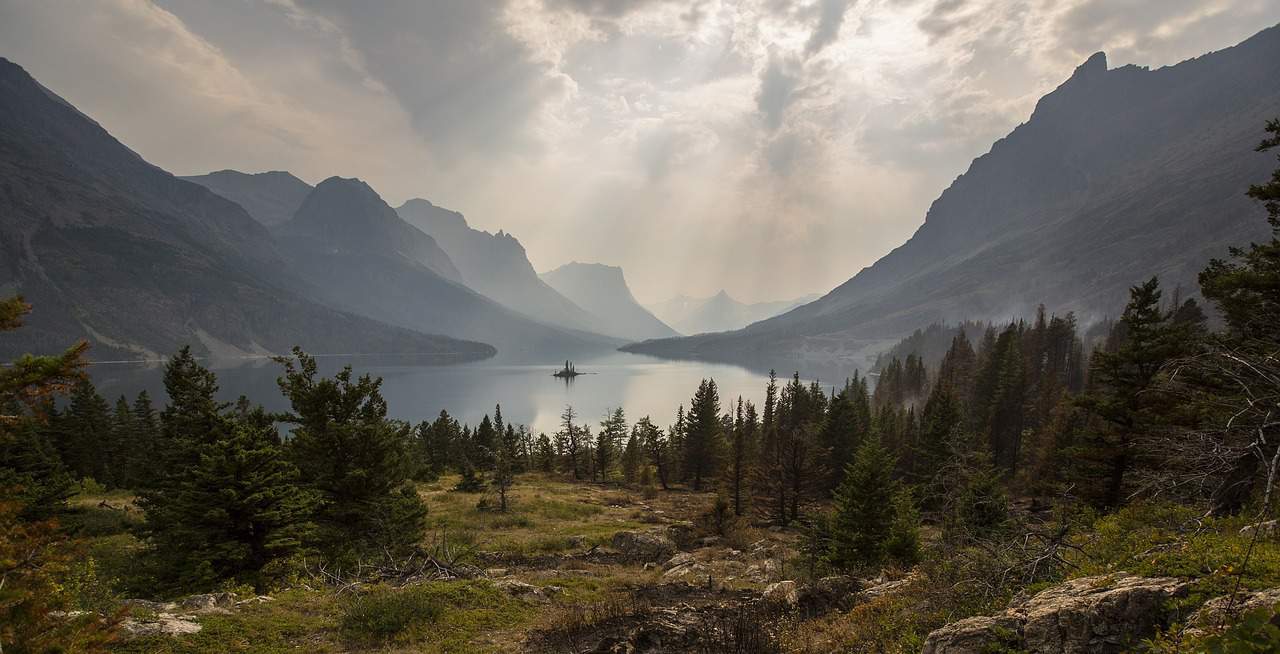
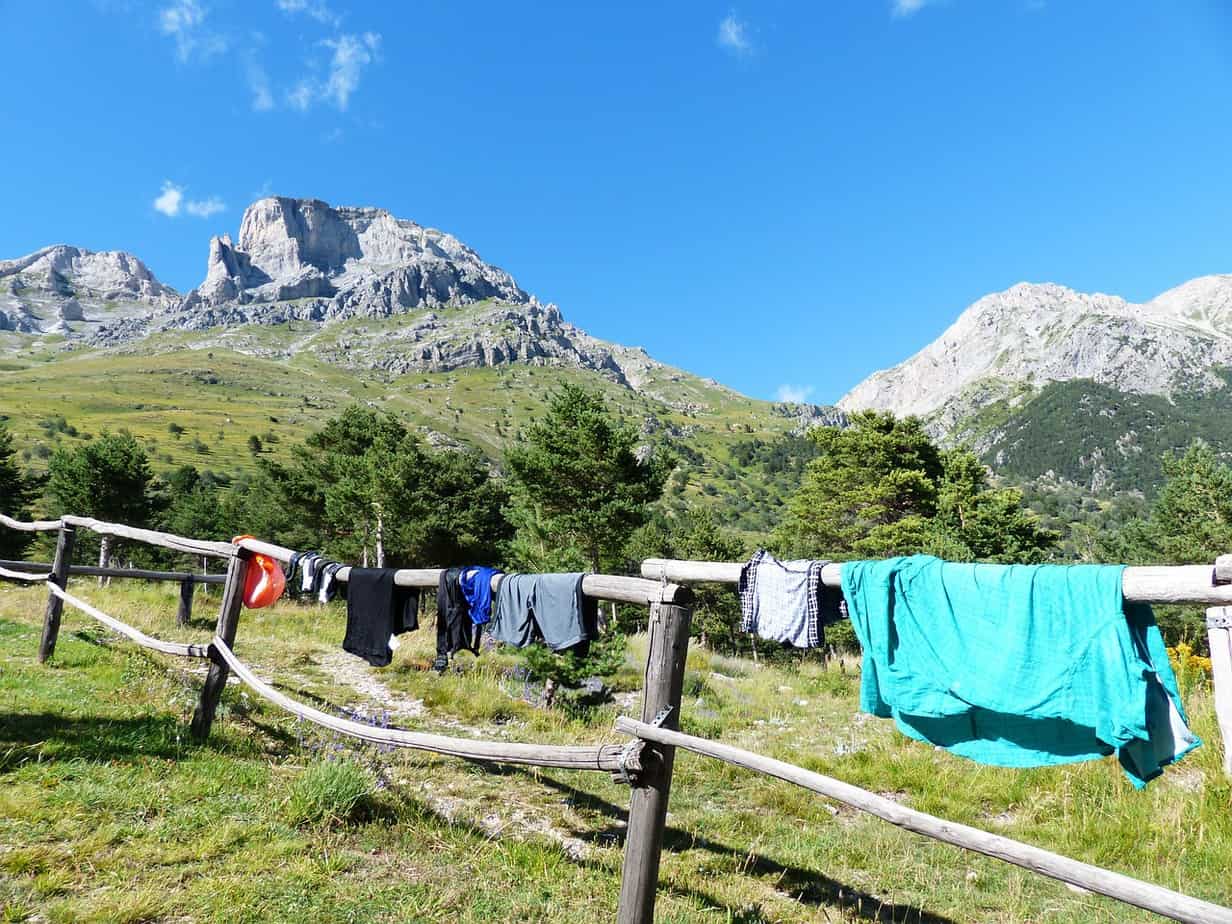
A true wilderness experience, backcountry camping combines hiking and camping as you make your way through barely-touched terrains, relishing the solitude and surrounding nature. It requires a specific set of survival skills and for this reason, it is a trip for more experienced hikers and campers. Preparation is vital, as you need to be able to pack and carry all your essentials in your rucksack. This will all be covered in the article so you don’t have to panic about what is classed as ‘essential.’
Top Reasons to Go
I’m sure you don’t need much more convincing, but here are a few benefits that make backcountry camping a worthwhile trip:
Leave the Crowds Behind
One of the best things about backcountry camping is the solitude that comes with being isolated in nature and choosing a route less frequently used.

Discover New Environments
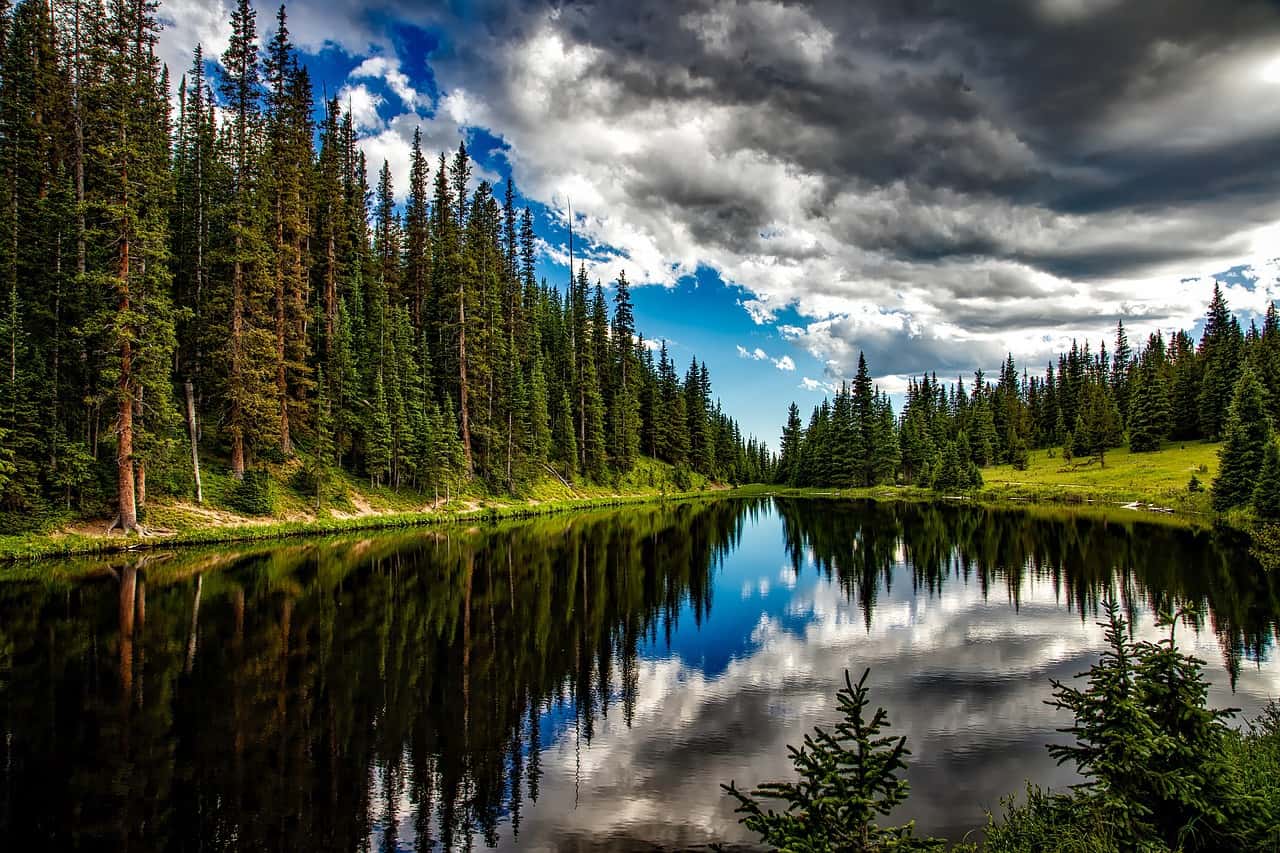
From vast mountain ranges to lush forests and sparkling lakes, hiking deep into the backcountry will reveal ecosystems unseen by many other people. There is something extraordinary about hiking through changing environments and feeling overwhelmed by nature.
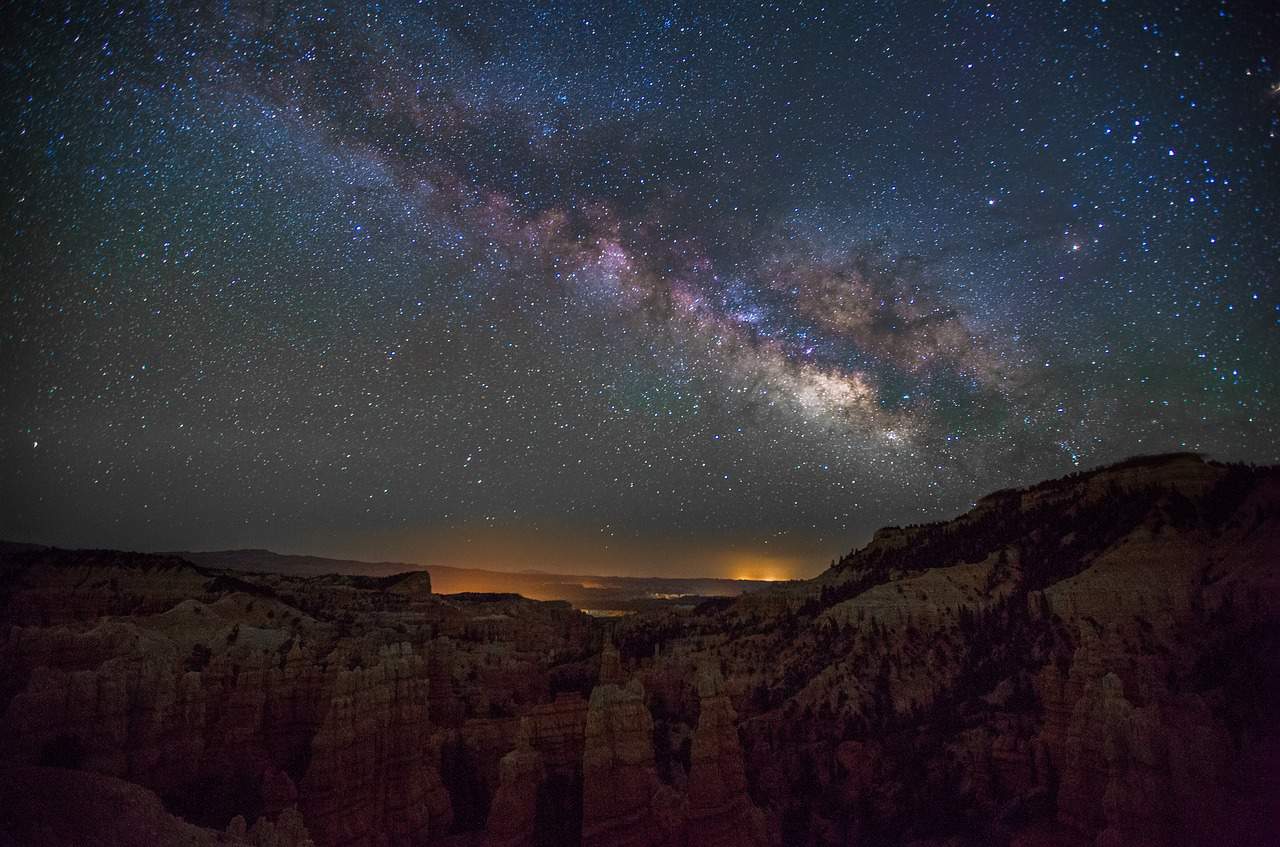
Gaze at the Stars
Depending on your location, many areas of backcountry will be free from light pollution, meaning you can lay your sleeping bag out and watch the sky turn from dusk to dark. If this is something you are interested in, you can read more about certified International Dark Sky Parks that are areas throughout the world renowned for their clear night skies.
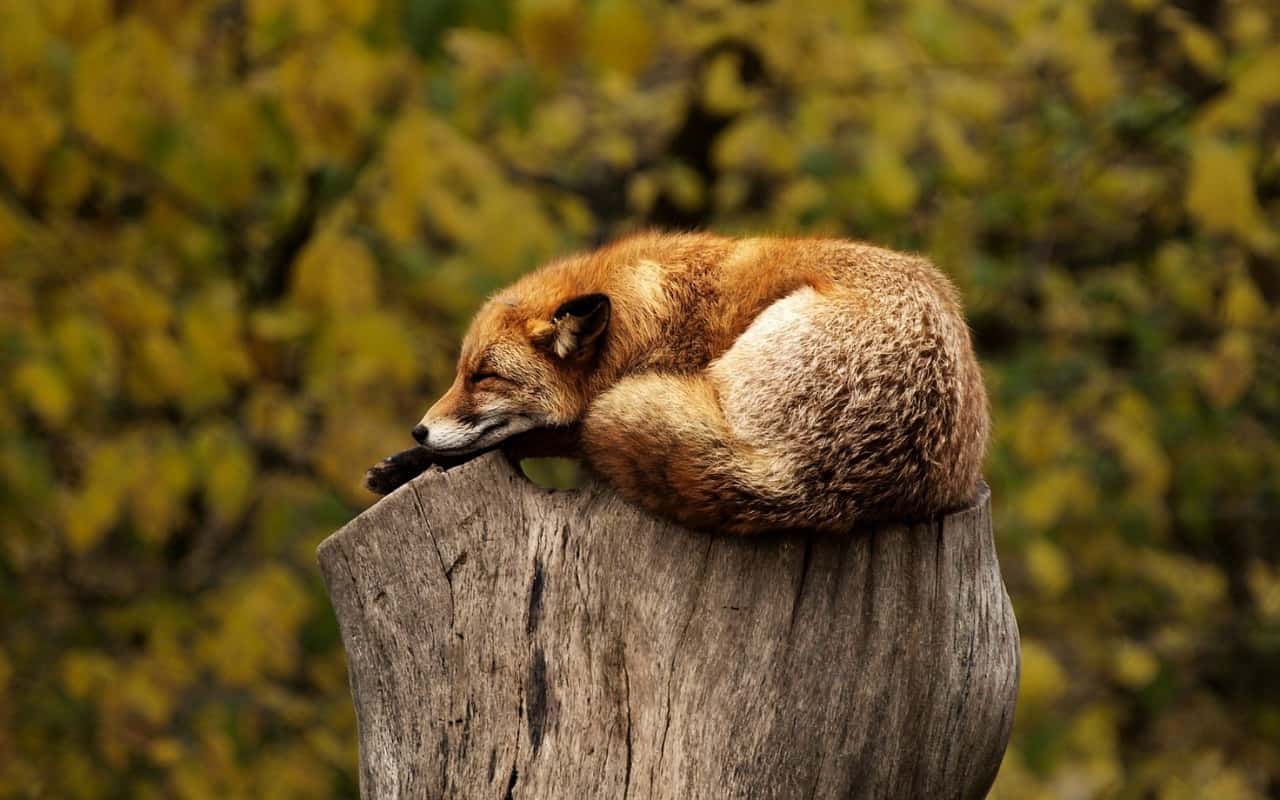
See and Hear Wildlife like Never Before
With fewer crowds, prepare to share your days and nights with the local wildlife. Without the steady throng of visitors, you are much more likely to spot animals at a close range compared to popular trails.
How Should I Prepare for My Trip?
Whoever you choose to backpack with, doing some personal preparation for this trip is crucial. You need to have a clearly defined plan and a couple of back-ups just in case (plus back-ups of back-ups – always be prepared right?). Here are 8 things you can do before embarking on your trip:
Find a Friend
It’s not advisable to solo travel in the backcountry especially if you are a novice, due to the potential risks involved. For your own safety, I would recommend finding another person or a small group who share your keen backcountry passion. However, if you feel confident to backcountry solo then go ahead! Just make sure you do double the prep beforehand and choose a suitable route with fewer dangers.
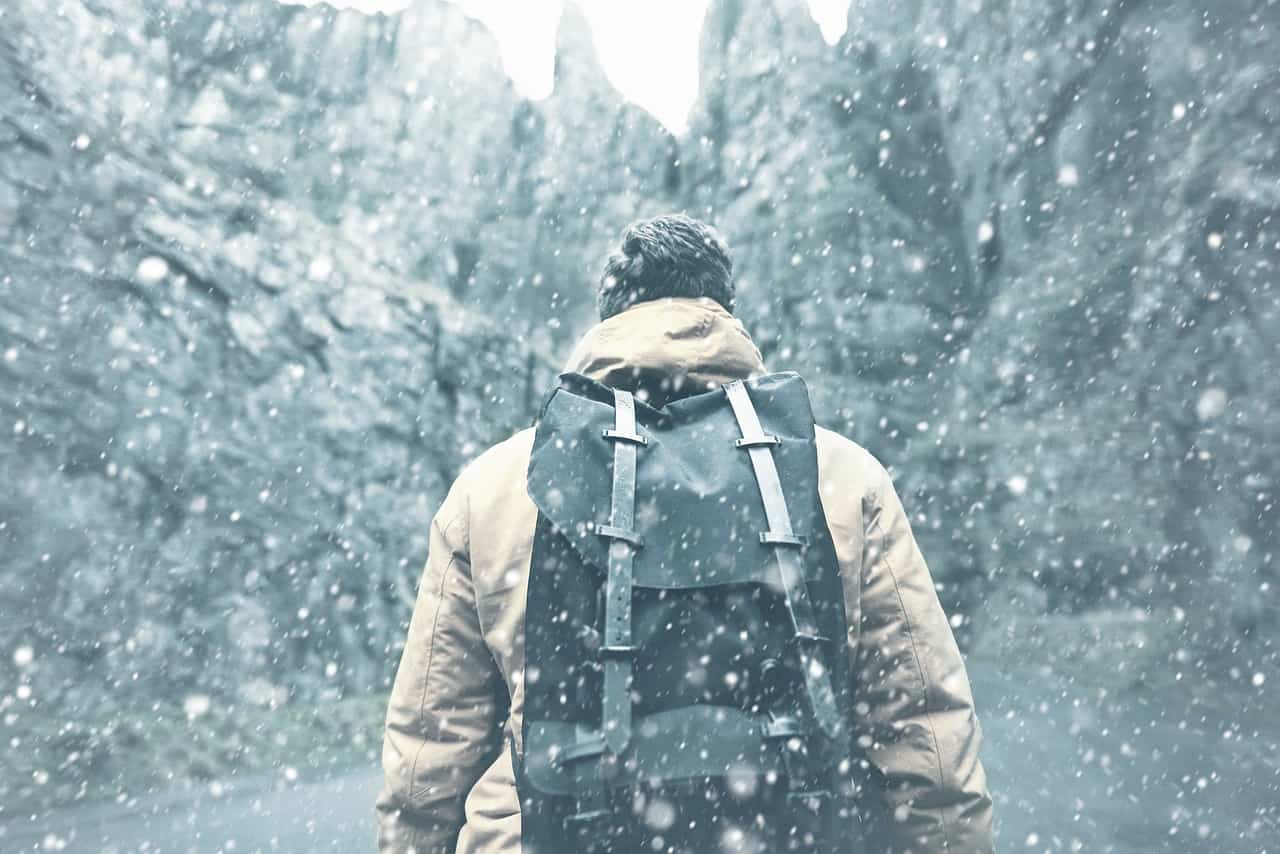
Don’t Ignore the Weather
If you have a specific travel date in mind, make sure you find a location that has suitable weather conditions. For example, many places with high elevation can be snowy well into the spring and summer and you may need specialized equipment to be able to hike there, such as an ice pick. Regardless of presumed weather conditions, you should always plan for all weather possibilities, from extreme heat to thunderstorms and blustery winds. Keep an eye on the weather conditions the week before you set off, so you have a good idea of what weather you will be facing.
Do your Research
If you have chosen to hike/camp in a National Park, visit the National Park Service website for information on your backcountry trail and campsites. This will help you to plan your visit, as it covers important information such as:
- Permits and camping fees
- Useful trip planning information (trail conditions and closures, map of the area, campsite list etc)
- Safety (information on potential hazards, water filtration and wildlife)
- Regulations (designated campgrounds, maximum group sizes, trip itinerary and accessibility)
Map it Out
Use 2D and topographical maps found online and in guidebooks to pinpoint the route you will take and campgrounds you will stay at. You should also locate water sources plus additional campsites as a back-up. Work out the average miles you will cover on a daily basis, taking into account elevation, terrain and combined skill level. As a benchmark, beginner backpackers should aim for 5-10 miles a day, whilst advanced hikers can usually cover between 15 and 25 miles.

Test your Gear
Before heading out into the wilderness, you should practise using your equipment whilst also making sure everything is in good working order.
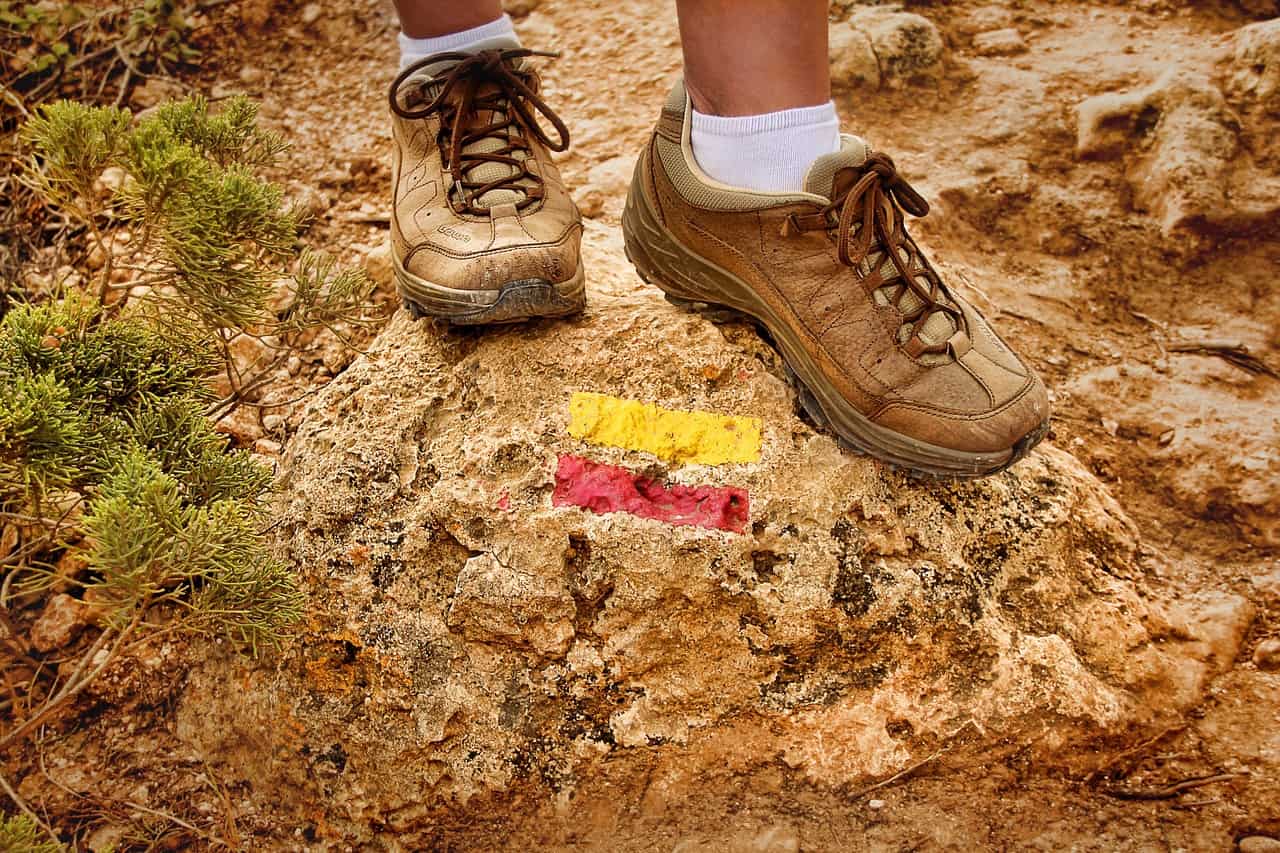
Get Familiar with Navigation
As you will be hiking in backcountry, a lot relies on your survival skills. You should be confident with map reading and using a GPS system and compass. If you choose to download these to your phone, don’t forget to buy a battery-operated phone charger. You should also consider downloading the Pocket Ranger app which covers all the National Parks in the US and has a number of useful features, including advanced GPS maps that can be used offline, real-time park alerts and a friend finder.
Take a look at Backpacker which has a whole page dedicated to outdoor navigation and survival skills. This is really useful and worth knowing before you venture out into the backcountry.
Tell your Friends and Family
Even if you are traveling in a group, be sure to leave a full trip itinerary with someone back home so they have a good idea of where you will be in case of emergency. Provide information on your start date and location, vehicle information and license plate (if required), planned daily schedule, names and contact details of people you are traveling with and proposed end date and location. Once you finish the trail, don’t forget to let them know you are safe – there could be a mass search ongoing whilst you’re sat back at home with your feet up…!
In Case of Emergency
It is also a good idea to have a couple of emergency contact details on your person. Ensure each person in your group has 1 or 2 contact numbers and swap with one another so you can be best prepared in the case of an emergency.
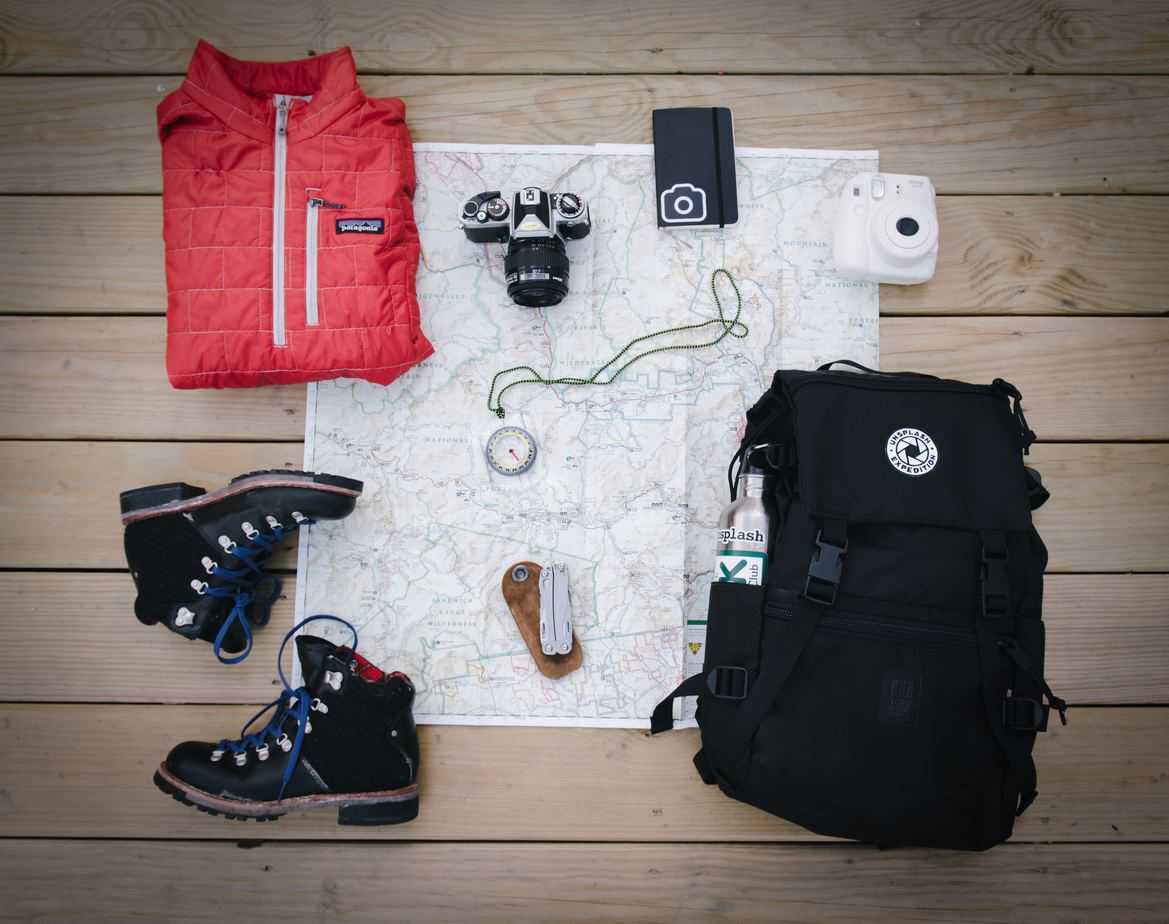
What Should I Pack?
The last thing you want to be doing on a backcountry camping trip is dragging a heavy backpack filled with supplies you think you might need before soon realizing that you were very very wrong. A light backpack will help you save energy that can be used elsewhere. Let’s start with an essential packing checklist:
Backpack
Ultralight backpacks are highly recommended for this type of hiking to reduce the weight on your back, leading to a more comfortable overall hike. There are a number of things to consider when purchasing a backpack – check out CleverHiker’s guide which recommends the best lightweight backpacks of 2018.
Clothing
Depending on the location and time of year, you may not need to pack every item on this list – you can use your information on the location conditions to decide if you need weather-specific items:
- Gaiters – If you are likely to encounter wet weather, a pair of gaiters could be the savior that stops you from getting soggy feet. Soggy feet tend to make hiking less enjoyable.
- Synthetic pants/shirts –Synthetic materials like nylon are best for hiking as they are lightweight and breathable. For shirts, they are an excellent base layer as they don’t trap heat, keeping you warm in winter and cool in summer.
- Fleece/Hoody – The main thing to remember with clothing is always pack layers. A fleece will keep you warm without trapping too much heat and is a good option for places that are likely to be cold on a morning/night. If you are walking in warmer climates, a hoody is a light layer that you can add or remove easily.
- Windproof/waterproof jacket – It’s always a good idea to pack a lightweight raincoat to protect yourself against any sudden downpours. The material of your raincoat might also be enough to protect you from light wind, so consider this before buying both a waterproof and windproof jacket.
- Waterproof pants – Depending on location and time of year, you might find that gaiters are adequate if there is likely to be minimal rainfall. However, waterproof pants are lightweight, easy to roll up and can make a trip much more enjoyable (simply from keeping you dry) should the weather turn wet.
- Socks – Light and breathable are the most important features when choosing socks for this trip. Wool is a good material for helping moisture evaporate whilst also keeping odors to a minimum and is recommended for long hikes. A realistic aim is to wear 1 pair of socks over 2 days. This should help you work out how many pairs you will need for your overall trip, bearing in mind you can wash pairs as you alternate between them.
- Winter gear – You might need to pack a woolen hat, mittens and lightweight gloves if there is a chance it will be cold on a morning or evening. This will be a huge benefit when performing tasks like cooking or putting up your tent as you will save energy by keeping your head and hands warm.
Footwear
If you are backcountry camping for a longer duration and intend to walk 10-20 miles a day, you should think about replacing your heavy hiking boots with light trail running shoes. This eliminates the ankle support, meaning you are less likely to suffer with blisters and will enjoy a much more comfortable hike.
Also consider packing a pair of open shoes to wear around the campsite especially if you are doing a longer trip. This gives your feet chance to breathe whilst also letting your main hiking shoes air out.
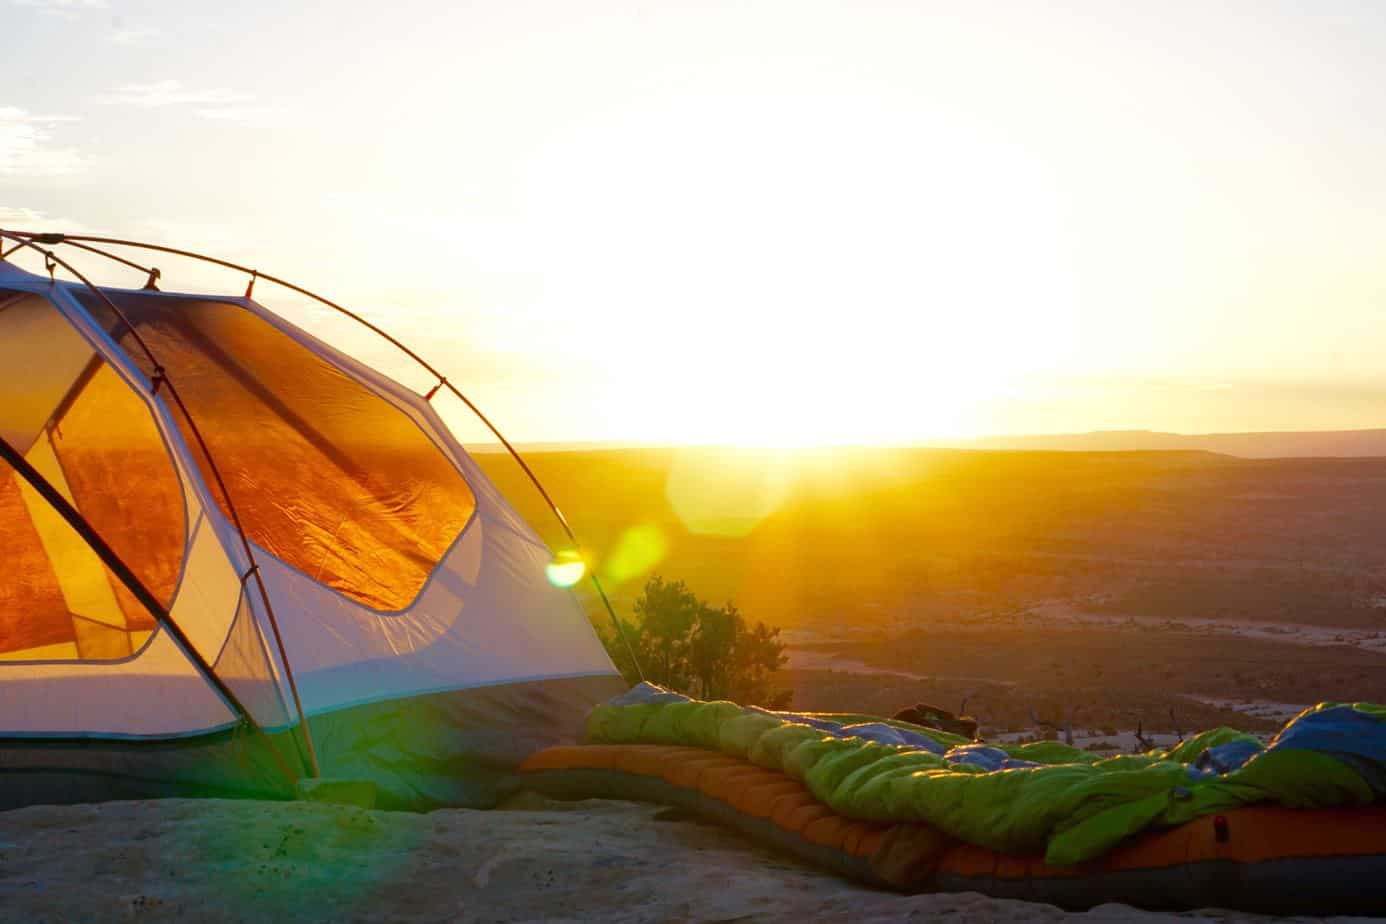
Shelter
One of the most important ways to reduce weight on a backcountry camping trip is to replace your heaviest gear with lightweight alternatives. The majority of these are found in the shelter category so it is important that you choose items that are light yet suitable for your proposed trip. Let’s breakdown this section more:
- Tent – 3-season tents are the popular choice for this type of trip as you can combine light weight with protection from the weather. They are well-ventilated and vary in price, allowing you to consider all the factors before choosing the one for you. Check out our featured review at TakeOutdoors to see which backpacking tents we tested and recommend.
- Sleeping bag – It is important to pack a high-quality sleeping bag to allow your body to rest and recuperate before the next day’s hike. There is nothing worse than being cold and getting a terrible night’s sleep before a long trek. Important features to look for in a sleeping bag are warmth, lightweight and down insulation. Have a look at Outdoor Gear Lab’s best backpacking sleeping bags which are rated in categories such as ‘Best buy on a budget’ and ‘Top pick for light backpacking.’
- Sleeping mat – Not only do sleeping mats provide comfort, they are also an essential safety item as they act as an insulated layer between you and the cold ground. There are many light options available that can be compressed to fit snugly on your backpack. Adventure Junkies have come up with a list of best sleeping pads for backpacking, itemizing each mat by weight, feature, pros and cons.
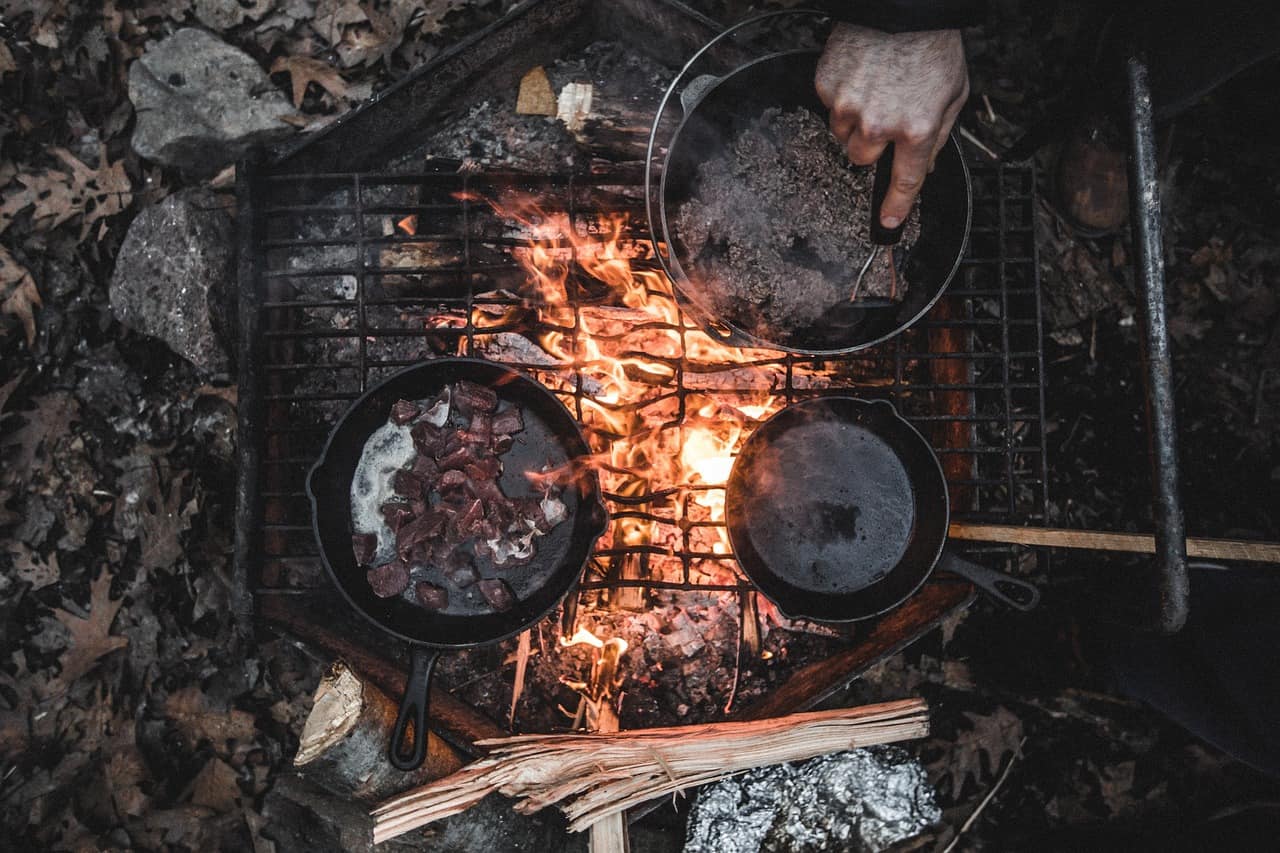
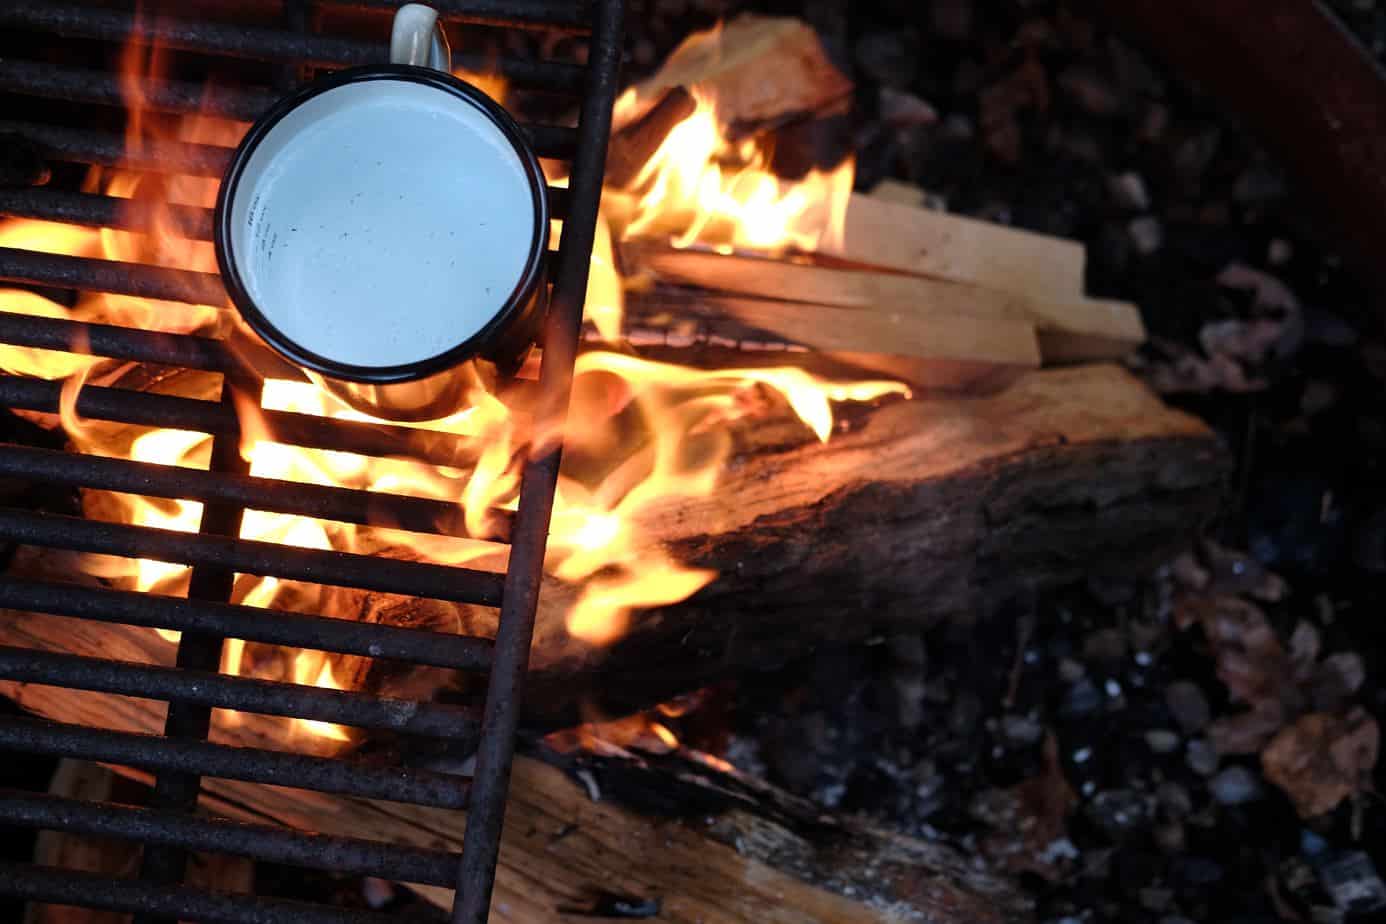
Kitchen
There are some supplies you will need when it comes to making food. The most important things to pack are a lightweight stove, pot, utensils, cup, bowl, spork, sponge, soap and fuel. If you are traveling with other people, compare your kitchen equipment and save weight by sharing items between you. You can then divide the weight evenly between backpacks.
Toiletries
For packing purposes, bare essentials would include toothbrush, toothpaste, hand-sanitizer and biodegradable soap.
This video by CleverHiker is a great way to learn about how to stay clean whilst backpacking.

Extras
Some additional items you will want to consider include:
- A first-aid kit – Fill with common medical supplies as well as any medication you or your group may require. It’s always better to be prepared in this situation.
- Headlamp – A hands-free torch comes in very useful on a night, especially if you’re cooking in the dark. It is also handy when using the bathroom or trying to find something in your tent.
- Matches – If your campsite allows fires, be sure to pack some matches or a lighter to get that fire roaring as soon as possible. You will also need them for lighting your stove – you don’t want to be scavenging for a fire starter when you finally arrive in camp cold and starving.
- Duct tape – Imagine snagging your tent on a branch and having a tiny hole that lets all the cold air in. Duct-tape is a short-term lifesaver in these situations. It’s always worth bringing a small roll should any of your equipment get minor damages.
- Pocketknife – A multi-purpose pocketknife is a crucial survival tool when camping in the wilderness. From preparing food to cutting wood, a pocketknife could even save yourself from a savage beast. OK, maybe not the last one, but it is a versatile tool that you will use more than you realise.
- Portable phone charger – As mentioned, a portable battery-operated phone charger is important to pack, especially if you have downloaded maps and GPS to your device. It is also good to have a charged phone in case of emergency.
- Insect repellent and sunblock – There can’t be many things more uncomfortable than suffering with sunburn then having to scratch it to relieve you from those itchy mosquito bites. Two important things to pack as sun and insects are unanimous in the backcountry.
- Hand Sanitizer – Having clean hands when handling food and after you use the bathroom is important to prevent spreading germs. Hand sanitizer can be used on the go and is an effective way to kill cells. Note – if your hands are dirty, you will need to use soap and water instead.
- Emergency blanket – As far as planning for emergency’s go, this should be top of your list. It’s unlikely you will ever need it but should you find yourself in a hypothermic situation, you will never regret packing an emergency blanket. They are small, light and worth popping in your backpack.
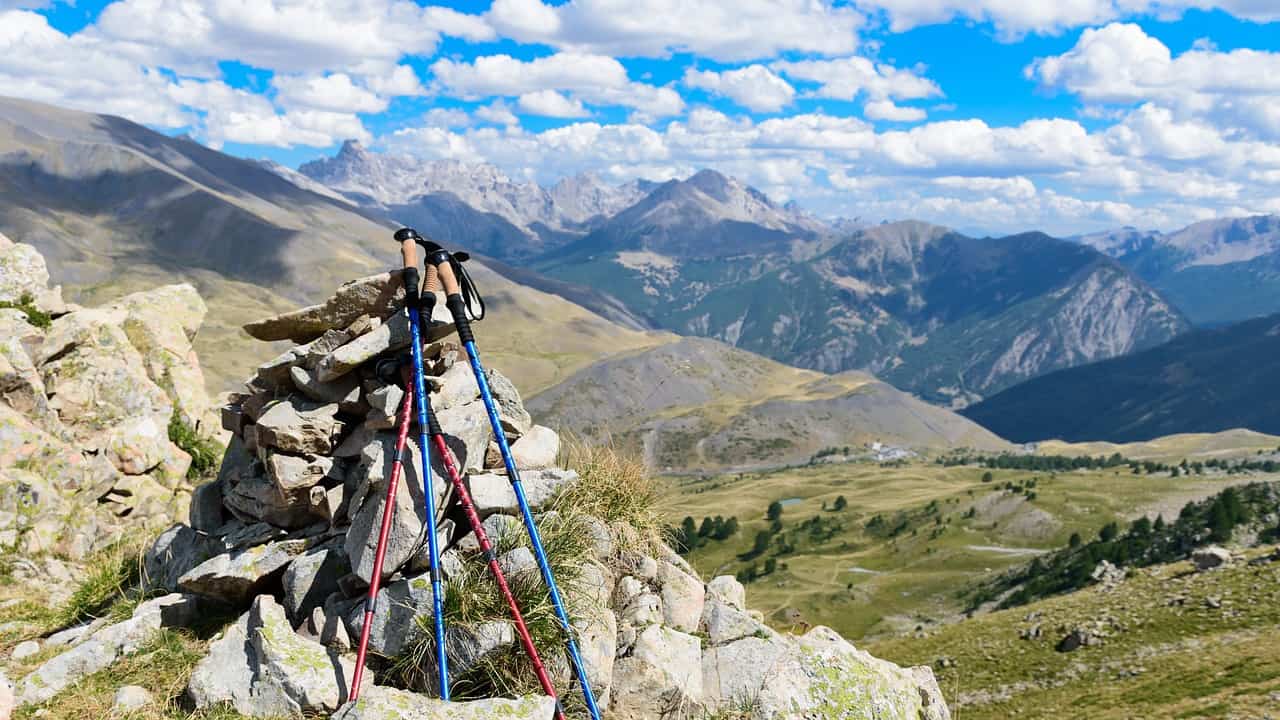
- Trekking poles – Though not for everyone, trekking poles can be a great advantage especially if you are doing lots of steep hiking. As well as providing stability, they also reduce the strain on your knees, ankles and hips. Many pole styles are super lightweight and collapsible, fitting nicely into your backpack when not in use.
If you’re a beginner and don’t have all this equipment, ask around to see if you can borrow gear from friends. This way, you can test it out on your shakedown hike and decide which items are essential for your trip that you can purchase before setting out.
You can use our camping checklist generator to create a customized packing list for your personal hike. This makes it much easier to tick off items you have packed and you can use it again for your next backcountry trip.
How Do I Pack for Backcountry Camping?
Packing your backpack correctly will result in a comfier hike and will save you time looking for specific items. The more often you pack your bag, the sooner you will develop a system that works well for you. Here’s some tips to get started:
- Use the shoulder and/or hip belt pockets on your backpack to store the smaller items you will use during your hike (such as lip balm, hand sanitizer, snacks and sunblock).
- Place any wet items in your outer mesh pockets so they can dry whilst you hike.
- Store all items that you won’t need to camp at the bottom of your pack. Put the heaviest items in the center closest to your back for stability and place lighter items around them. Put items you will access often at the top of your pack, such as food, water and rain jacket.
- Consider separating your food bag into meals. This way, you can store breakfast and dinner items at the bottom of your pack and lunch at the top for easy access.
- Separate your fuel from your food.
What Food Do I Need?
The amount of food needed to sustain you in the backcountry will differ from person to person. Depending on your size, weight and hike difficulty, you should be aiming to consume between 2,500 – 4,500 calories a day. There should be a balance of fats, carbs and protein plus fiber, fruit and veg for nutrition. For your first trip, it is always best to pack a little more and learn from experience how much you need for next time. Some good foods for backcountry camping include:
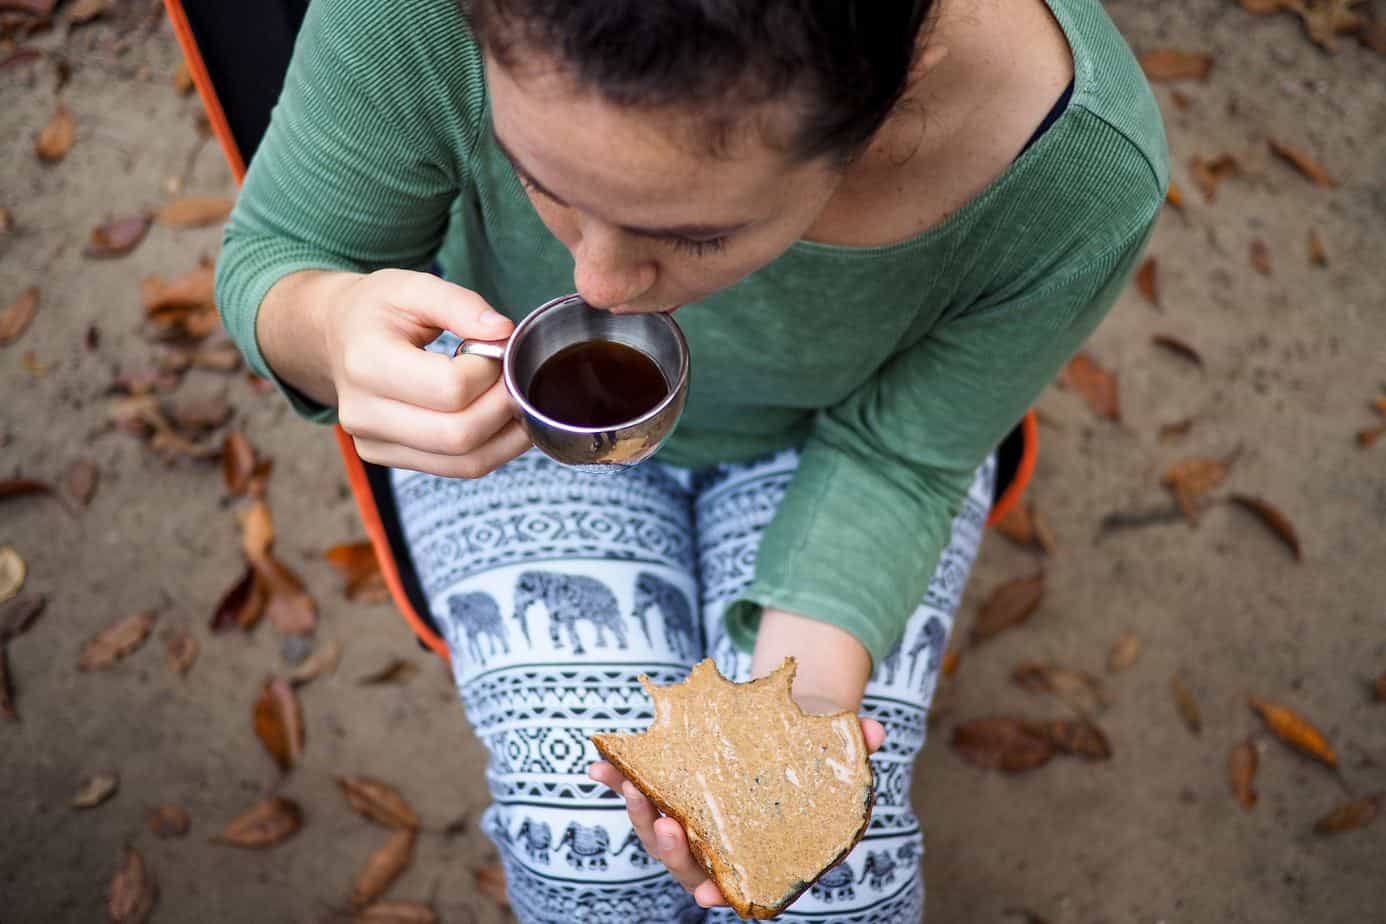
Breakfast
It’s a good idea to keep breakfast basic so you can get started on the day ahead. Energy bars, hot cereal, instant tea/coffee and fruit are all good quick options that require little to no clean-up.
Lunch
A quick-stop lunch such as a sandwich or tortilla wrap means you don’t have to unpack all your kitchen gear to make a meal. Alternatively, you can choose to snack on high-energy foods every few hours instead of stopping to make and eat lunch.

Dinner
Instant packets of pasta, rice and noodles are convenient as well as being quick and easy to cook in boiling water. You can add meat or fish to your meal for added protein. You can also pack dehydrated meals for extra nutritional value but these can be a little more expensive. You should repackage items into zip-lock bags to save weight. Also pack some of your favorite spices and condiments to make bland food much tastier.

Drinks
Hot drinks like cocoa and cider are perfect to end the day with, warming your body as the night settles in. Similarly, powdered cold drinks are a nice change to water every now and then whilst you hike.
Snacks
Choose snacks that are high in calories and protein to replenish low energy levels. Nuts, trail mix, peanut butter, beef jerky and chocolate/granola bars are all good grazing options.

Pack a Variety
For longer trips, you might want to mix up your breakfast, lunch and dinner options to give you a change from eating the same meal over and over.

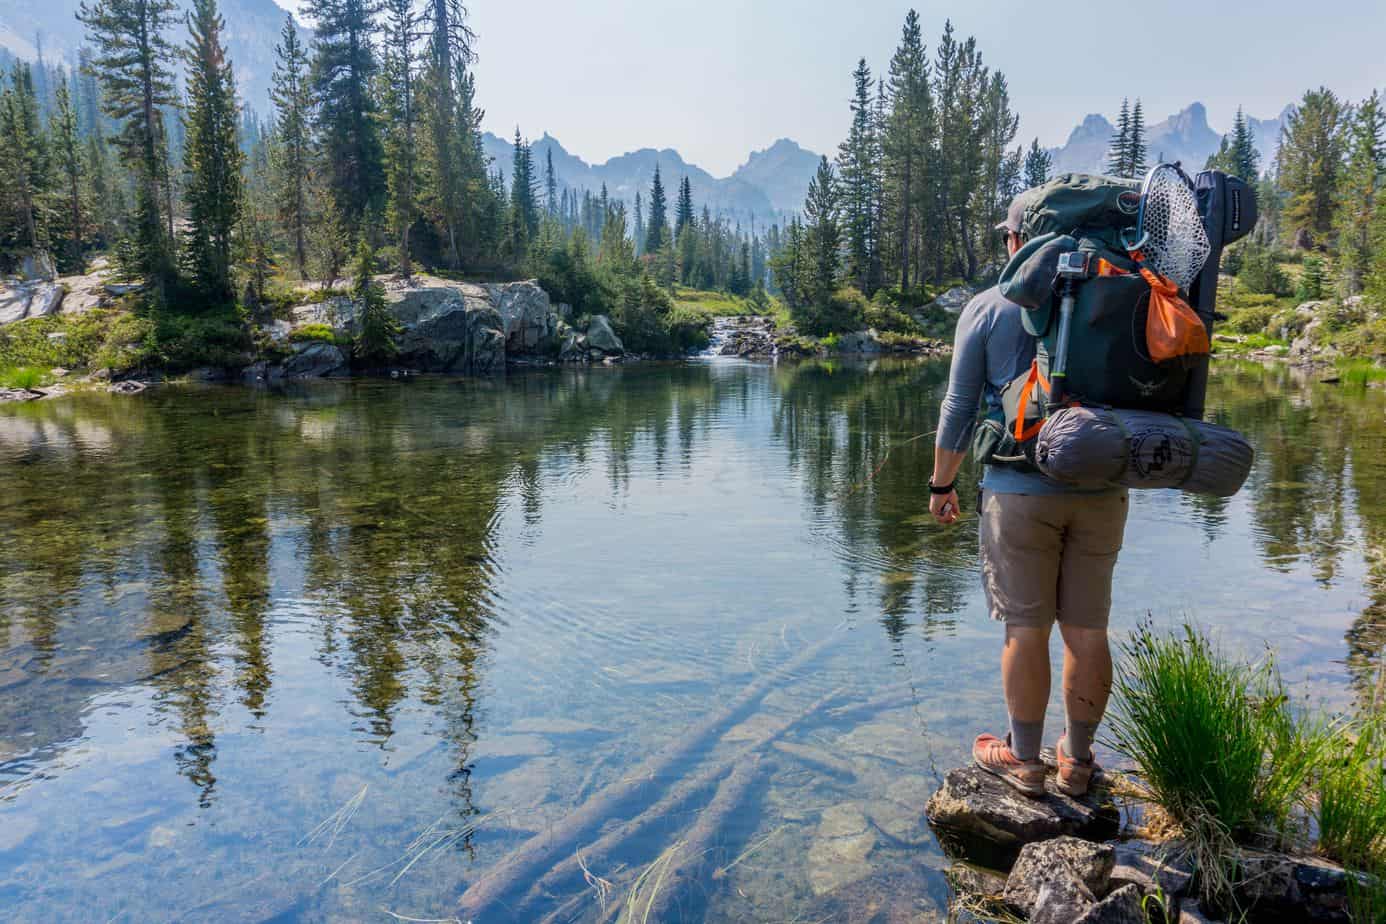
How Much Water will I Need?
One of the most important things you will carry on your backcountry trip is enough water to keep your body well hydrated. Be sure to research beforehand where your nearest water supply will be and factor this into your day. If your trail has plenty of natural water supplies like lakes and streams, you can pack less water and consider the following:
- Invest in a filter so you can purify the water straight from the source. Although filters can be a little bulky, expensive and mean you have to put time aside to fill your water bottle, they are one of the safest options.
- Chlorine tablets are another way to sanitize water and are a popular choice among backpackers. They are compact, affordable and easy to use. Plus, you don’t have to stop mid-hike as they work on-the-go. The disadvantage is your water will have a slightly different taste and they can take up to 4 hours to be 100% effective.
When choosing a water bottle, there are plenty on the market, each ranging in price, weight and material. Take a look at Switchback Travel’s article on their best water bottles for hiking and backpacking.

What are the Common Mistakes to Avoid?
Before you embark on your wilderness adventure, here is a collection of some slip-ups made by other backpackers. Take note!
Overpacking
One of the most common backpacking errors is to pack everything you think you might need at some point on your trip. With the weight of your backpack being such an important factor, save yourself the pain of having to carry those unnecessary added extra’s (including camp chairs, a toaster and the cat).
Aiming too high with miles
The benchmark for daily miles can range from 5 to 25 depending on your trip and fitness levels. If you have experience doing 1-day 25-mile hikes, this doesn’t necessarily mean you can do 75 miles over 3 days. It takes time for the body to adjust and hiking takes its toll on your knees and back, especially with the extra weight from your backpack. Listen to your body and don’t be over-ambitious with miles. You will only end up losing days by having to rest.
Ignoring the forecast
Always check the weather before you set out on your hike. If it says there is a chance of rain, have your rain jacket handy. If it says there’s going to be a storm, find a closer place to camp for the night just in case.
Leaving a trace
Hiking and camping through the wilderness can have a critical impact on plants and wildlife if precautions aren’t taken to sustain the area. Take out your trash, store food properly and follow the regulations for each area you go through.

Setting off too late
If you start your hike too late in the day, you may not arrive at camp until dark and this makes everything ten times harder when it is easily avoidable. Even if you work out how long the hike will take, you need to factor in breaks and other potential delays. Setting off early is your best bet.
Cooking in your tent
Yes, this does happen and no you shouldn’t do it. Ever. It might seem like a good idea when you arrive at your campsite in a torrential downpour but here are two reasons why you shouldn’t – your tent could burn down which isn’t ideal. And carbon monoxide from your stove fumes could kill you. Both would put a damper on your trip.
Where Can I Go Backcountry Camping?
Across the US and Canada, there are plenty of amazing spots to go backcountry camping, all ranging in duration and difficulty. Here is just a selection of destinations that vary in length and location for you to consider:
- Resurrection Pass Trail – Hope, Alaska. 39 miles (3-5 days)
- West Coast Trail – Pacific Rim National Park, Vancouver Island, BC. 47 miles (3-6 days)
- Loyalsock Trail – North Central Pennsylvania. 59 miles (7 days)
- Wonderland Trail – Mount Rainier, Washington. 93 mile loop (7-10 days)
- North Boundary Trail – Jasper National Park, Alberta. 111 miles (7-10 days)
- John Muir Trail – Yosemite to Mount Whitney, California. 211 miles (10-20 days)
- The Long Trail – Green Mountains, Vermont. 272 miles (13-20 days)
How much do you know about backcountry camping?
Conclusion
Now that you’re armed with this jam-packed guide to backcountry camping, its time to put your skills to the test for an unforgettable wilderness experience.
Remember, if you are new to backcountry camping, you don’t have to dive straight into a 200-mile trek. There are plenty of longer trails that can be split up and done in shorter segments at your own pace.
Do you have any advice or recommendations for backcountry camping? Let us know in the comments!
Hayley is from the UK and has a passion for the outdoors, taking regular hiking trips with her Australian fiancé. When she is not hiking, she is working as a freelance writer in Glasgow or travelling the highlands in Neil, her campervan.